How to Cook Chicken Breast So It Is Not Dry
Dry, rubbery chicken breast is one of the most common cooking frustrations. A few simple techniques guarantee juicy results every single time.

October 13, 2025
Chicken breast is the protein of choice for millions of home cooks — lean, versatile, and inexpensive. It's also one of the most consistently overcooked proteins, turning from juicy and tender to dry and cottony with just a few extra minutes of heat.
Understanding why chicken breast dries out, and how to prevent it, will transform one of the most frustrating cooking experiences into a reliable one.
Why Chicken Breast Dries Out
Chicken breast has very little fat and connective tissue compared to thighs or legs. Fat bastes meat from the inside as it cooks; chicken thighs stay juicy across a wide temperature range because fat and collagen retain moisture. Chicken breast has no such cushion.
The result: as internal temperature climbs above 165°F (74°C), muscle fibers contract aggressively, expelling moisture. By 175°F (80°C), chicken breast has lost so much moisture it's unpleasant to eat regardless of how you cooked it.
The target internal temperature for safe, juicy chicken breast: 160–165°F (71–74°C), measured with an instant-read thermometer at the thickest part. This is the single most reliable tip in this entire article.
Technique 1: Brine Before Cooking
Brining — soaking chicken in a salt-water solution — is the most reliable way to produce juicy chicken breast. Salt causes proteins to unwind and retain moisture during cooking.

Simple wet brine: Dissolve 1 tablespoon salt in 4 cups cold water. Submerge chicken breasts, refrigerate 30 minutes to 2 hours. Remove, pat dry before cooking.
Quick dry brine: Season with salt 30–60 minutes before cooking. Less dramatic effect than wet brining but significantly better than salting and immediately cooking.
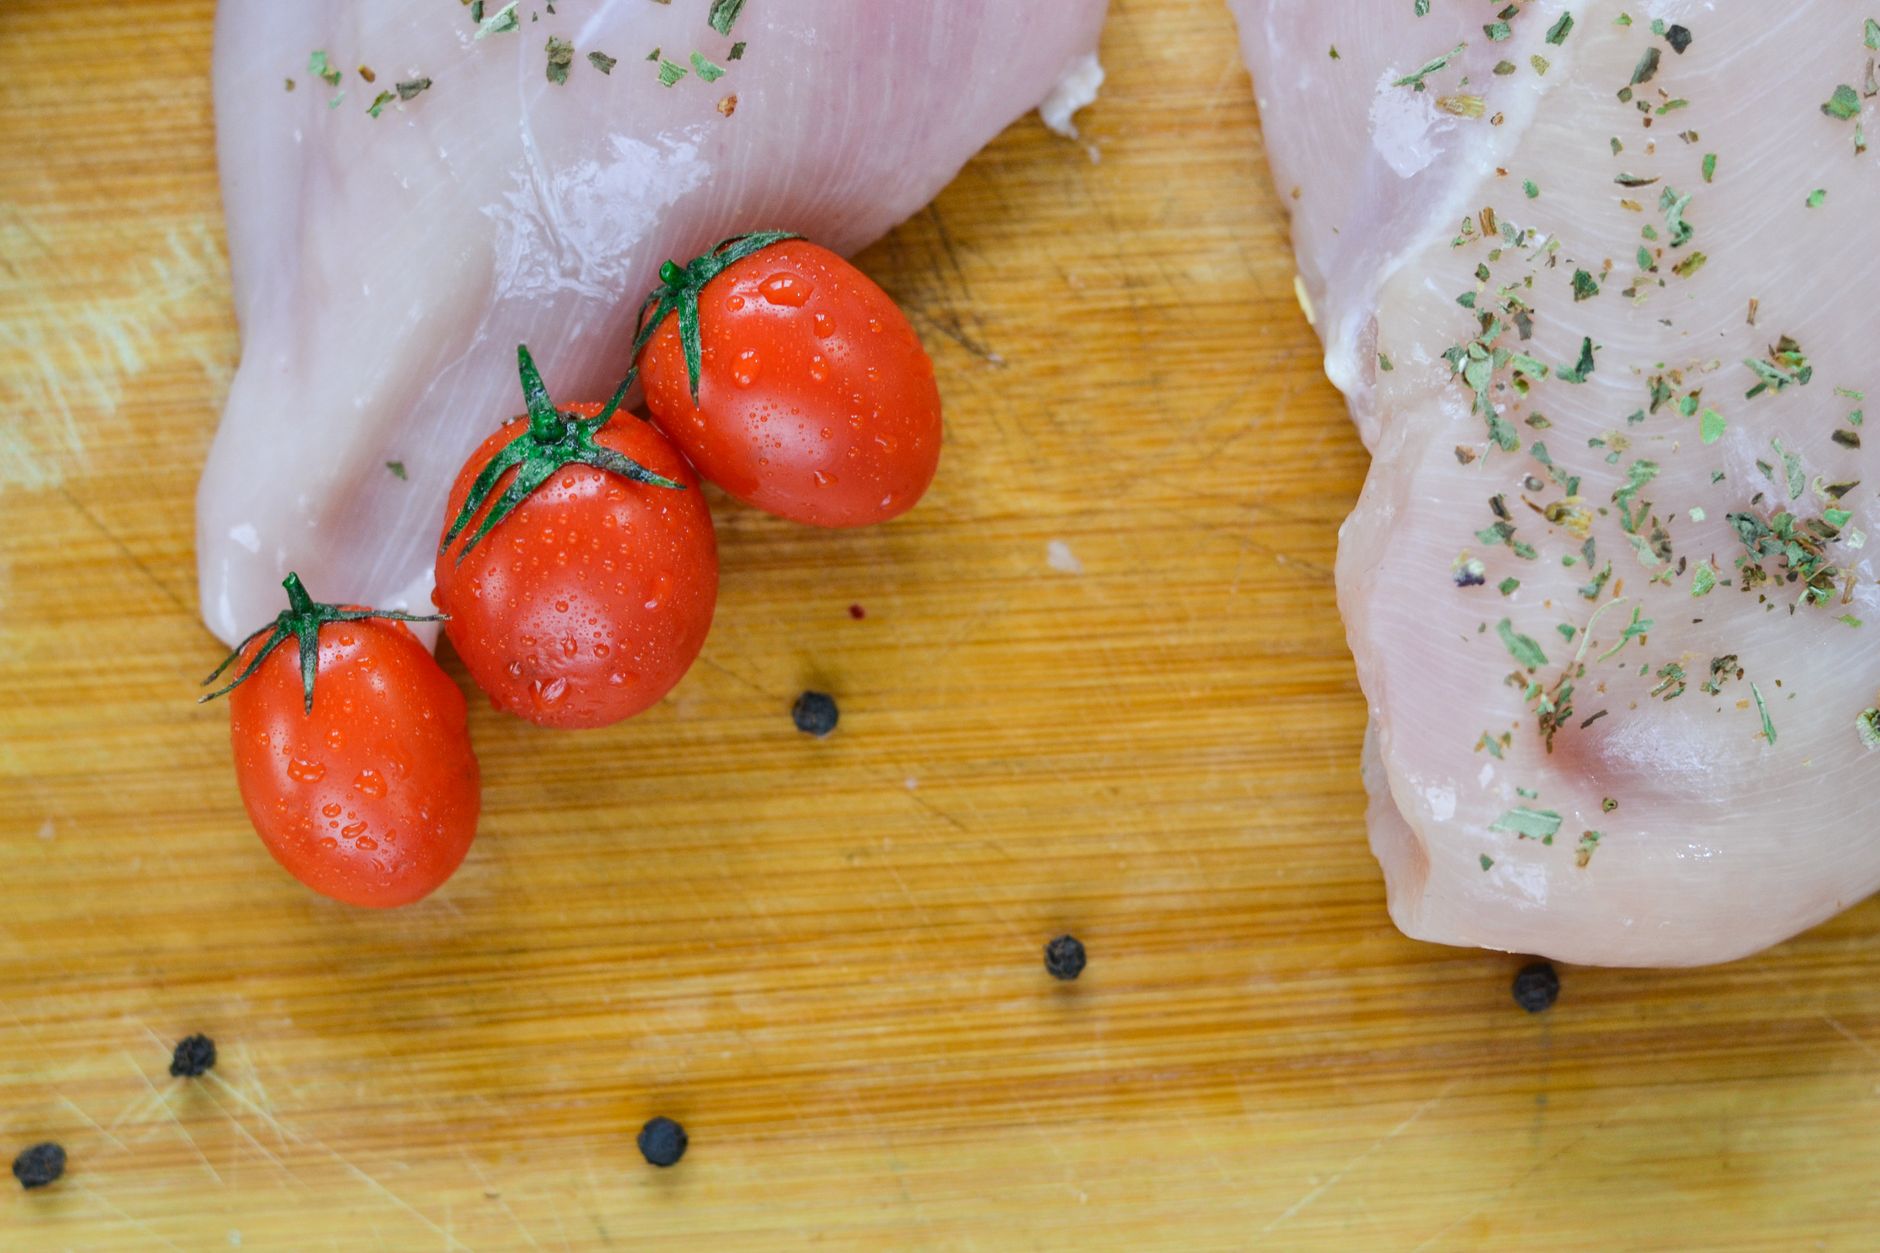
Technique 2: Pound to Even Thickness
Raw chicken breasts are typically thick on one end and thin on the other. This means by the time the thick end reaches 165°F, the thin end is at 185°F+ and drying out rapidly.
Place chicken between plastic wrap and pound with a meat mallet or heavy pan until an even ½ to ¾ inch thickness throughout. Takes 60 seconds. The payoff: perfectly even cooking from edge to edge.
Technique 3: Reverse Sear or Low-and-Slow Oven
The traditional method — high heat stovetop or oven — is fast but unforgiving. The reverse sear applies restaurant technique to home cooking:

- Season chicken and cook in an oven at 275°F (135°C) for 20–25 minutes until internal temperature reaches 155°F.
- Heat a skillet over very high heat, add oil until smoking.
- Sear chicken breast 45–60 seconds per side for a golden crust.
The result: a uniformly cooked interior with a perfectly seared exterior. The slow oven cooking reduces moisture loss significantly compared to high-heat methods.
Technique 4: Stovetop with a Lid
For quick stovetop cooking:
- Pound chicken to even thickness.
- Season well.
- Heat oil in pan over medium-high until shimmering (not smoking).
- Sear first side 3–4 minutes without moving (develops the golden crust — don't rush this).
- Flip once.
- Reduce heat to medium, cover with a lid for 5–7 minutes.
- Check internal temperature: remove at 160–165°F.
- Rest for 5 minutes before cutting.
The lid creates steam that gently cooks the chicken from above while the direct heat cooks from below, reducing temperature gradient and moisture loss.
Technique 5: Sous Vide (Perfect Every Time)
Sous vide — cooking vacuum-sealed food in a precisely temperature-controlled water bath — is the most foolproof method for chicken breast. Set the water bath to 145°F (63°C), cook for 1.5–4 hours (longer = more pasteurized but no more cooked). Finish with a 60-second sear.

At 145°F held for sufficient time, chicken is safe (pathogen reduction occurs through time/temperature combination) and stays juicy because the protein doesn't contract aggressively. The result is unlike anything you can achieve on a stovetop.
Sous vide immersion circulators: Anova and Joule are the market leaders, starting around $100.
The Most Important Step: Resting
Cut into chicken immediately after cooking and you'll see juices pour out onto the cutting board. Those juices are no longer in the chicken — they're wasted. Rest chicken for 5 minutes after cooking, tented loosely with foil. Juices redistribute throughout the meat during this time.
Flavor Tips
Juicy chicken breast still needs flavor:

- Marinade: Acid (lemon juice, vinegar) + oil + seasoning for 30 minutes to 4 hours (not longer — acid starts to denature protein surface)
- Compound butter: Place a slice of herb butter on hot chicken immediately after cooking. As it melts, it bastes the exterior.
- Spice rub: Paprika, garlic powder, onion powder, cumin, salt — applied generously before cooking creates a flavorful crust.
With these techniques, perfectly juicy chicken breast every time isn't luck — it's just applied science.